Twitch is an online service for live streaming videos. This Online service enables users from all over the world to broadcast live the material they want. Most of this content consists of gaming issues, live streaming, and conversations against users and streamers.
Twitch is currently the most visited live streaming service with more than 3.8 million streamers worldwide and about 15 million daily views. In addition to generating the content, this service generates revenue for its users. This tool allows audiences and viewers to search, select and watch the materials they need for free from the nearly four million content producers.
What is a stream?
Streaming is a technique by which a multimedia file, such as audio or video images, can be viewed live on the Internet without downloading. In this method, data is transmitted live and continuously from the server to the user’s computer. And during this transfer, the viewer can display the transferred parts.

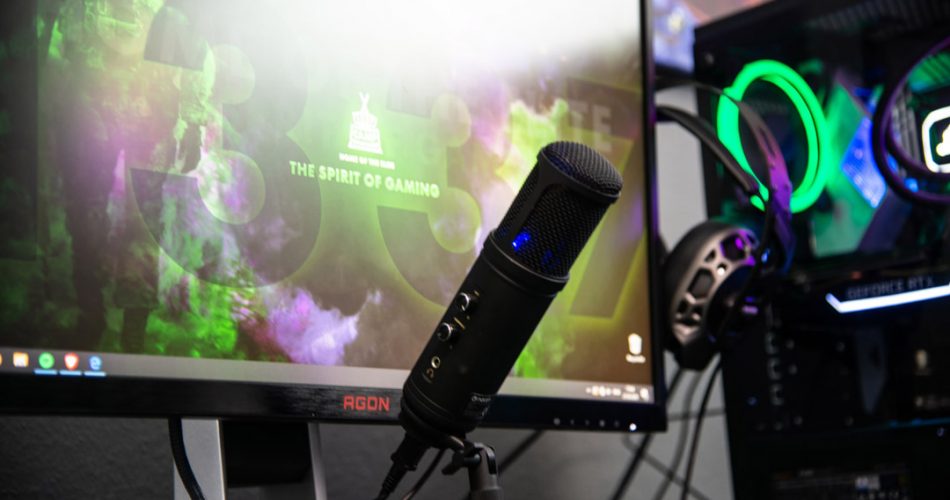
What equipment do we need to start streaming?
The variety and facilities used to stream will largely depend on your budget and taste. But contrary to popular belief, you do not need anything more than a medium-sized computer system and stable Internet to start streaming.
Which software should we stream with Twitch?
There are many tools available today for live streaming from a computer or console. Each of these tools has its advantages and disadvantages, which you can use according to your needs and expectations. In this tutorial, we use the OBS Studio tool to stream live to your computer.

OBS Studio is designed for gamers, artists, software developers or non-professional users who need to make an instructional video or stream video on the Internet. This tool is one of the best software for streaming and sharing media, which is fully compatible with the Twitch service. In addition, services such as Streamlabs OBS, Nvidia Shadowplay XsplitGamecaster, vMix, etc. have similar applications.
OBS Studio (or Open Broadcaster Software) is an open-source program that is completely free. This software is currently available for Windows, Mac, and Linux operating systems. And you can get the latest version compatible with your operating system by visiting the OBS Studio website.
How to stream on Twitch?
After downloading and installing OBS Studio software, you will encounter such a panel if you run the software. This panel contains the main box that is displayed to the viewer. In addition to the main box, the software consists of four critical sections marked with red boxes. These four boxes include running scenes, sources, sound details, and stream settings.
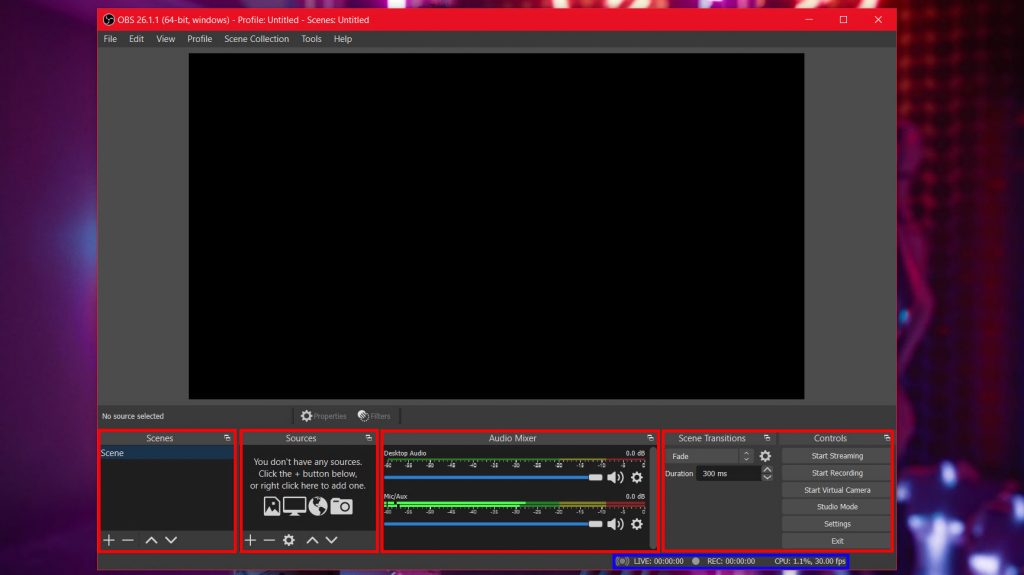
The first box on the right contains the stream control commands, settings, and the stream’s start and end. Next to this section, you will see Scene transitions, including commands to play animation or media between scenes. Finally, below these two information boxes, including the stream’s duration, frame rate, and the amount of software used by the processor, is specified.
The next box is for audio input and output settings. Finally, the last two boxes are for Sources and Scenes. The Scenes section contains the scenes you want to stream. Scenes from a streamer can include a preview screen, stream screen, full camera, and more. The decision about personalization and the number of these pages depends on the streamer.
Download Twitch Clips Online And Free In Full-HD Quality MP4 By GiveFastLink Online Twitch Clip Downloader (No Registered Account is Needed)
Personalize stream scenes
Each of these scenes can contain elements of its own. For example, the mainstream stream can include your webcam, game or software screen, image, your recording cameras, and so on. You can add several elements to each scene with the help of the Sources section.

For example, I put some essential elements for you in the main scene. In the image below, I have shared my game screen with the Game Capture source. I also enabled a camera for this scene with the Video Capture tool so that the viewer could see me, as a streamer, at the top right of the stream.
Connect Twitch account to OBS Studio software for streaming
Before you can start streaming, you need to connect your Twitch account to OBS Studio software. To do this, you must enter the Settings section of the software by selecting the File option in the top bar of the program. From the settings section, enter the Stream option and connect the software to your Twitch account.

To do this, you must enter the username and password of the Twitch account with the verified email in the Connect Account section. The Stream section also allows you to connect to other similar streaming services. By clicking on the Service menu, you can connect the software to YouTube, Twitter, Facebook Live, and other accounts.
Connect the equipment to OBS Studio software for streaming
Before starting the stream, you must also connect your gear to the OBS Studio software. This equipment can include cameras, webcams, audio inputs, and more. To connect this hardware, you need to enter the Settings section of the software. When you enter the settings section, you will see a bar on the left that provides access to possible areas.

You can identify, adjust and record your stream audio inputs and outputs by entering the Audio section. This section also allows you to enable shortcuts. The Video section works the same as the previous section but is dedicated to cameras and imaging equipment.
After connecting the equipment and customizing the stream scenes, all you have to do is start the stream. To start the stream, click Start Streaming from the first box on OBS Studio software’s right side.
The final word
In this article, we briefly describe and review the basics of streaming in Twitch by computer. This article does not cover all the possible concepts in OBS Studio and Twitch software. These two tools provide users with many more efficient services and streamers.